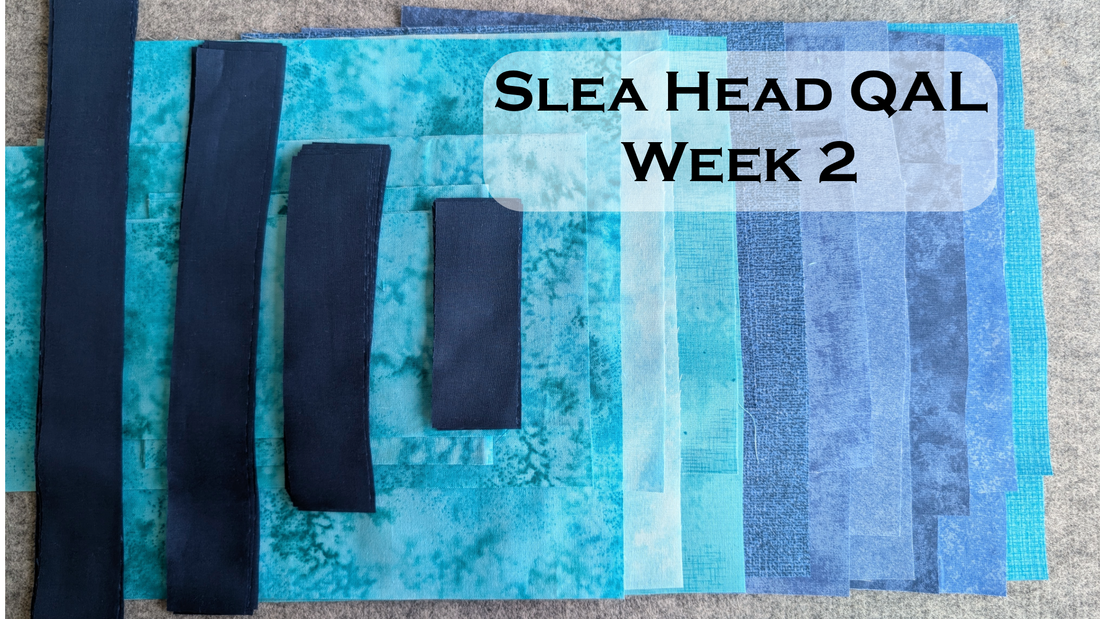
Slea Head Quilt Along - Week 2
Share
This week we are going to cut all our fabric. The pattern includes all the details, including a diagram showing how to cut all your fat quarters and detailed notes to maximize your sashing fabric.
Would you rather watch the video? Click here.
Do you still need the pattern? No problem. You can grab it here.
Use coupon code: SHQAL2025 (expires August 3, 2025)
Before we get started I am going to share some of my favorite tools along with some tips to make this step go as smooth as possible:
Tools
Rotary blade
Make sure you use a good sharp rotary blade. I won't say use a new blade, because I am often guilty of using my blades past their useful life. But do use a nice sharp blade. The blade should slide smoothly through the fabric without too much pressure.

Rulers
These are my 3 favorite rulers. Nothing fancy here, just some trusty tools that never steer me wrong.
- 6" x 24" ruler - this big guy is perfect for large cuts
- 3" x 18" ruler - this slightly smaller ruler is easier for me to hold and therefore results in less slipping and more accurate cuts
- 4 1/2" x 8 1/2" ruler - this is by far my favorite ruler, it is wide enough for me to put my whole hand on and small enough for me to control easily. This ruler gives me more accurate cuts and I use for all of my smaller cuts.

Ruler Grip and Nonslip dots
I often use a ruler grip for my larger sized rulers. It simply suction cups onto the ruler making it easy to take on and off and switch between rulers. I have a hard time holding my larger rulers steady in order to get an accurate cut, but this tool really helps me control the slippage and hold my ruler steady.
I put these nonslip dots on almost all of my rulers, they add just a little bit of tacky to the back of the ruler so that it can grip the fabric better. Some of my rulers have a build in nonstick (like my favorite 4 1/2" x 8 1/2" ruler), but for the ones that don't these grippy dots work perfectly.

Tips
Press your fabric
I know we can all get a bit excited to start cutting right away. But the deep fold lines in your fabric are going to affect the accuracy of your cuts. The fabric wont lay nice and smooth without a good pressing.
The fabric on the left is newly unfolded from my stash and doesn't want to behave. The fabric on the right is freshly pressed, and while you can still see the fold lines, the fabric lays nice and flat which will allow for more accurate cuts.

Label your fabric pieces
I am often guilty of thinking I don't need to label my cut fabric pieces, but if I walk away from my project for any period of time, I have no idea which pieces are what when I return. Scrap pieces of paper with labels written on them are easy to pin or clip to your fabric and often work nicely in a pinch.
My favorite way to label my fabric is to use flat head pins. I use a fine tipped sharpie to write the numbers or letters that are needed for my project (you will need A through K for Slea Head). This allows me to use the pins over and over again for different projects and if I need a label that I don't already have I can just grab another pin and easily write the label that I need on it.

Behind the Scenes
Once I got started the cutting went super fast. I cut my fat quarters one at a time so that I wouldn't run into any issues incase they varied a bit in size. I like to turn on my favorite podcast or a quilting video to get into the zone.
I love how this rainbow of blues is looking and am so excited to see how it is going to turn out.

Schedule
Week 1: Pick your size and your fabrics
Week 2: Cut your fabric
Week 3: Decide on your layout
Week 4: Sew your blocks
Week 5: Assemble your quilt
Pattern
Do you still need the pattern? No problem. You can grab it here.
Use coupon code: SHQAL2025 (expires August 3, 2025)
Thank you!!
Thank you for being here! I would love to see your progress. Comment below and tell me all about it. Or tag me on Instagram @StitchingAcrosstheGlobe and use the hashtag #SleaHeadQuiltAlong.
Would you rather watch the video? Click here.

6 comments
Pamela J Richards – Yay!! I can’t wait to see what you create.
I got everything cut yesterday and started sewing! WOW – great details on cutting! Actually got some of the sashing started!
Melinda – Your welcome! I’m glad they were easy to follow. I can’t wait to see what you create!
Ruth – I love the process of finding the perfect fabric for a project :) I can’t wait to see what you decide on.
This looks like a fun, quick pattern! It’s perfect for the fabric for our master bedroom quilt…..now I just have to find all the fabric!!