Dyeing in Japan
Share
On a recent trip to Japan I was lucky enough to get to participate in four different fabric dyeing workshops in various locations. I have been interested in fabric dyeing for quite some time, but getting to actually try it hands on, I am hooked.

Katazome in Tokyo


The first workshop I participated in was Katazome. Katazome is a Japanese resist paste dyeing technique that uses rice paste applied through a stencil. Dye will not adhere to the fabric where the paste is applied. We were each given two draw string bags and got to pick our own stencils. I went with cherry blossoms and a lucky cat. Once the resist paste was applied and dry, I was able to scrunch the fabric, similar to tie-dyeing, to create interesting effects in the fabric when dyed. In this workshop we didn’t get to do the actual dyeing of our own pieces, they were returned to us a few days later already dyed. I love how my little bags turned out and was surprised by how simple this method was.

Shibori Dyeing in Arimatsu


 Indigo Vat Dyeing at Hozuai Koubou


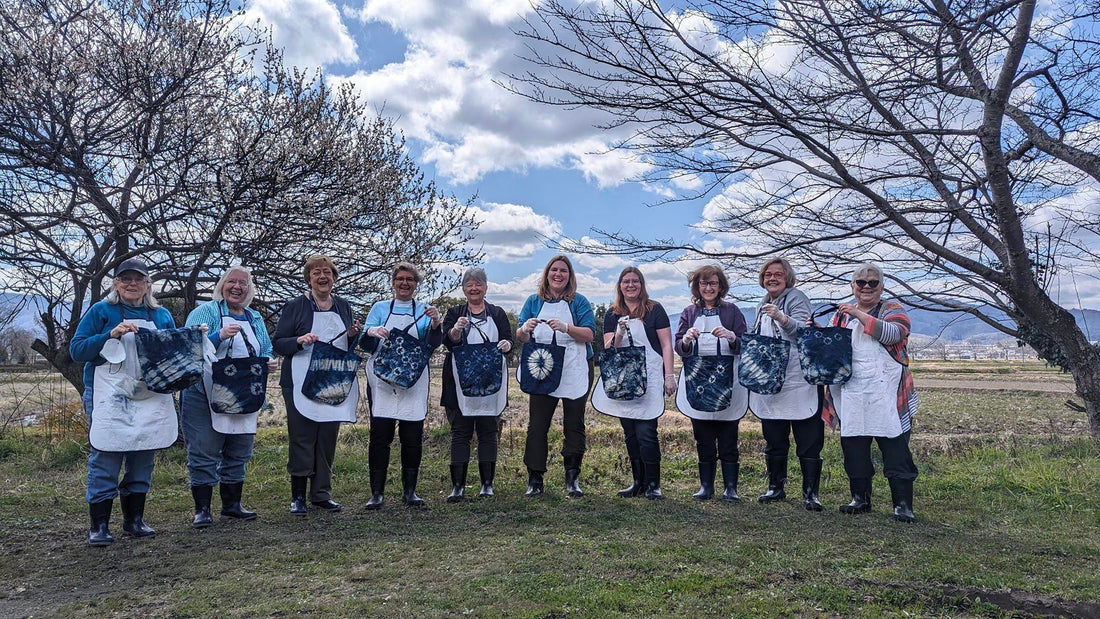
Indigo is a blue dye created from the fermented leaves of the indigo plant. I absolutely loved experiencing the huge indigo vats in Hozuai Koubou just outside of Kyoto in the middle of indigo fields. We were each given a tote bag that we got to twist, fold, tie, and clip to our hearts content. Then the fun really started. We were given gloves that extended past our elbows and got to plunge our hands shoulder deep into freezing cold indigo vats. This process was repeated several times in order to allow the indigo to oxidize to obtain a deeper shade of blue. The thing I really loved about this was the size of the vats, when am I ever going to get to plunge my arms shoulder deep in a huge vat of dye again. This was such a unique once in a lifetime experience.

Yuzen in Kyoto


Yuzen felt more like painting then dyeing, which makes sense considering it is a Japanese surface dyeing technique in which dyes are brushed onto the surface of the fabric. For the workshop we used stencils, but this technique can also be done freehand or in combination with resist paste. Similar to the Katazome workshop, we got to choose from hundreds of different stencil options. However, for this technique each motif was made of several different stencils depending on how complicated the design was. You would pin your first stencil to your fabric, marking the corners, and apply your first color of dye, you would then remove this stencil and pin your second stencil in place, using the corner marks as guides, and apply your second color of dye, this would continue until you had finished the design. I chose two different designs and did two colorways of each design. The dragon was three different stencils and the tiger was four stencils. I really loved the beauty of this technique, I enjoyed the aspect of painting on the fabric and the ability to blend colors. I brought home a kit with all the necessary supplies and can’t wait to try this technique again.
Have you ever tried fabric dyeing before? What are your favorite techniques? Or which techniques are you excited to try?